Customer Master panel will let you enable to see the sales points by specific channels. You can add departments as well from backend but mobile users have to make some edits if you upload your retail points details from backend.
In this Part, You will get to know the action plans before inputting the departments.
- You have to provide your sales channel names [ Example: Dealer/Distributor, Retailer etc.]
- You have to create Badge.
- You have to create Category
- You have to create Location Type
 |
| Image 1 |
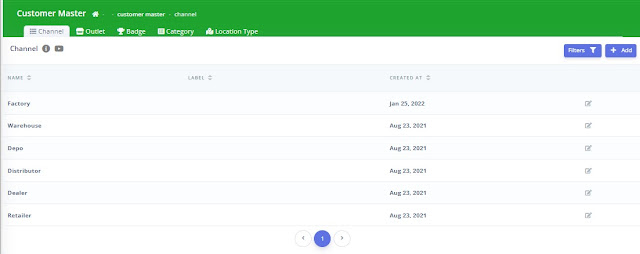
- Channel means , Your Sales Points. Suppose, SR only work with retailers. So, for SR's, Channel will be retailer.
- Channel is also useful to segment the prices of your products. Dealer Price and Retail price won't be same
 |
| Image 2 |
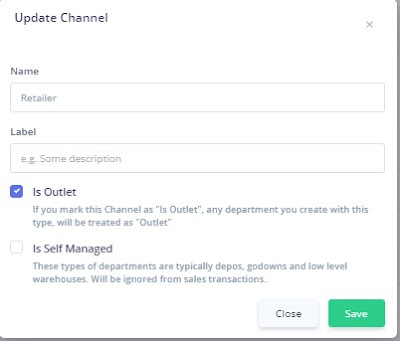
- If you click on Update of a particular channel, You can see this view as shown on Image 2.
- Is Outlet means, which channel will be visible in Mobile App. You can put one channel as "Is Outlet" for now.
- Self Managed can be Dealers, Depo etc.
 |
| Image 3 |
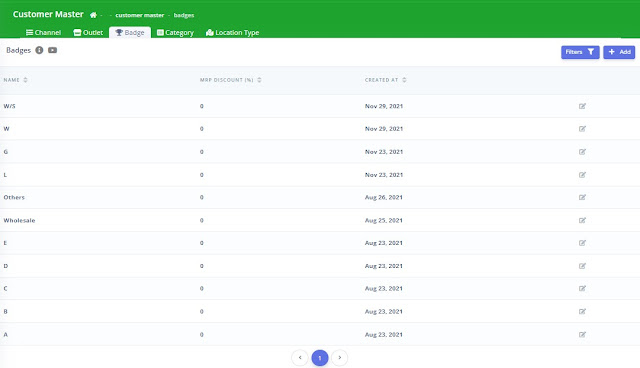
- Badge means, you are making segments to provide a Rank of your sales points. And whatever you type on badge, it will reflect on Mobile App while taking the information's of retailers.
- You can add the rank names A, B, C or it depends on our calling.
 |
| Image 4 |
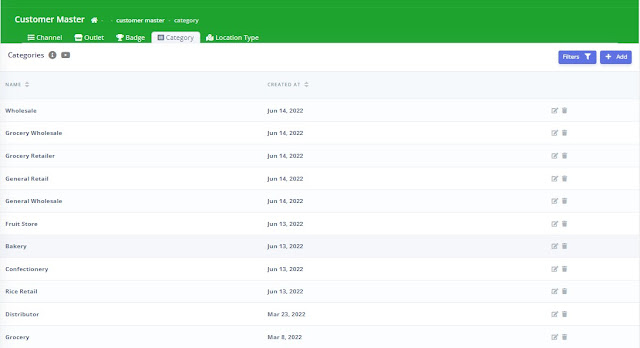
- Category means to classify your sales points. Suppose, your product got coverage in Mudi, Tong, Super shop, Wholesalers etc. categorized shop. You just have to place inputs of the categories. It will reflect on Mobile App while picking the retail information
 |
| Image 5 |
- Location Type adding is very important is to analyze your coverage location wise.
- You just have to add the type like Rural, Metro, Urban, Semi Urban etc. which will reflect on Mobile App while picking retail's information.
Note: You have to make this all parts before adding any sales points in system.


Comments
Post a Comment